Read the transcript of the lecture
Bye! My latest training will be about double ombre nail art.
It is now perpilenet very big sláge that I thought to make it with my trainer so that you can make this very spectacular, But the simpler the colour the better not to put it on your brothers nails.
You can do this technique straight away with gelcoat and fixative-free colour gel.
So, if for some reason you decide you don't want a gel varnish on top of your fake nail, you can have a bar and it will be just as durable, As you would do it with a gel like the hairstyling gel, or if you don't have a colour that the guest has chosen for themselves, you can do this hairstyling gel Also with jelly.
But in this case you will need a softer type of brush.
In this case, I can recommend you the brush with the brush with the tweezers as an example.
It's one of those rounded-end, thinner, relatively softer brushes, and you can use it to blend colours together relatively gently, and it's relatively easier to work streak-free.
Of the two materials, it is of course easier to do this transformation with gels, as gels are a softer type of material in themselves, It's not as pigmented as a fixative-free tinting gel, so I'd basically recommend doing it the easiest way if the guest has a fake round and you want to use this technique, so you can simply make this transition with gellac.
Regarding the colour clues, whichever colour is a bit closer is easier to blend.
Which is very different, so for example a black cobble the harder it is to wash away.
In this case it's not impossible, but it will take much much more time, you don't have to give up until then, As long as the stripes don't disappear, and the cobble black blends away, in fact a filter colour is formed, you have to blend the colours.
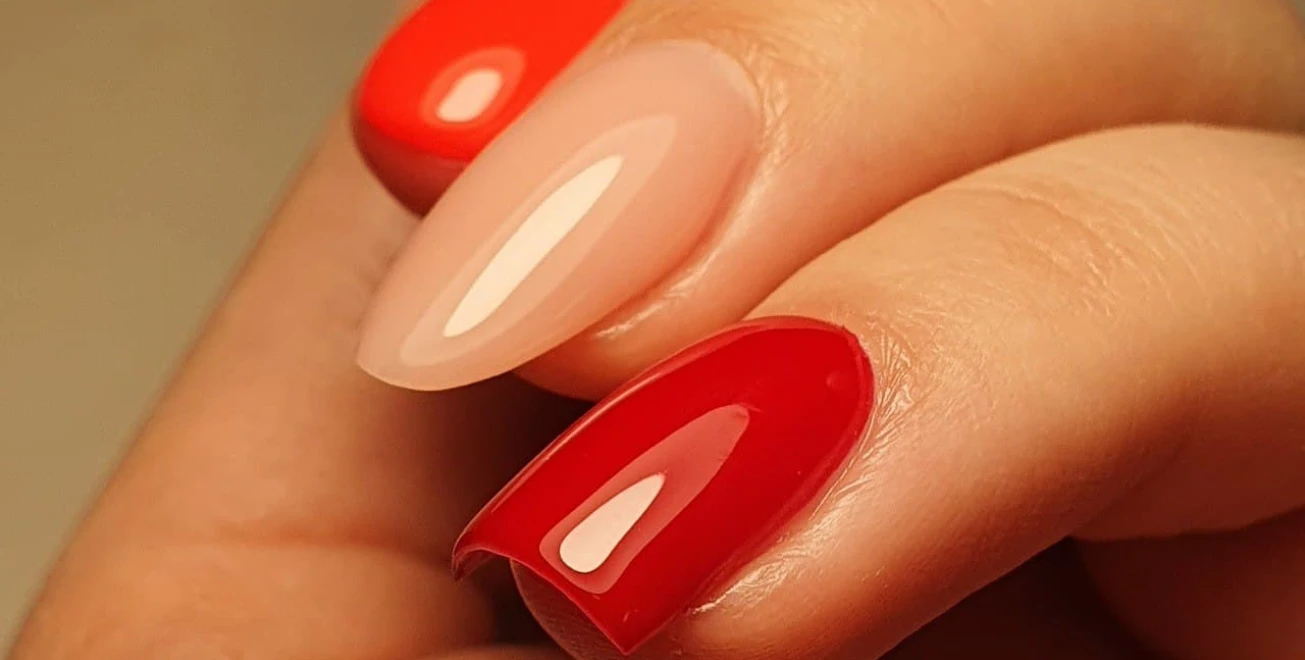
What is the third one we are going to make? I think that if you look at the tips, at least I feel that a lot of the technique is more spectacular when it's covered with a mat, so I'm going to do a matte effect for you guys, and then I thought I'd do this slightly pink, or dark pink and baby pink I'll mix them up.
We'll mix the celeb's color 345 and the mumbasa's color 38.
There will be no problem at all mixing other brands.
Actually, the backs of pretty much both colors have a similar consistency.
and they both have similar brushes, the celeb ones look a bit longer and wider, but the same angular brush, which I'm not a big fan of, but it's also absolutely perfect for blurring colours.
When colours start to blend, always consider or notice how different one colour is from another, It's stronger, darker than the other one, or pigmented, so in this case Dark Pink is a stronger colour, compared to pale pink, so that dark colours can dominate light colours more easily.
So the dark colour will always be a little bit thinner in this case, and I don't mean the thickness of the fabric, But if you look, I'm going to apply the pale pink to two thirds of the pulp, and the remaining third will be the stronger pink shade.
It's totally up to you now which side you want the light or dark on, as you like it.
We'll be using our own brushes for the gel transition.
In this case it doesn't matter which colour you have in your hand.
So, the last time we have the light pink in hand, we're going to use that to work it onto the brush.
And if it's just this dark pink, it doesn't make any difference.
We'll get a clean paper towel.
And I've gotten a very little bit used to wiping the stuff out of the brush.
You can see that it's not completely, it's there to allow the brush to slide a bit, but I'm still getting some material out of it, I'm just trying to make sure that you don't add too much to the surface and overpower the dark pink of your type.
and we'll start, well, bravely enough, don't be afraid of it, so let's get stomping.
Look at these tiny bars, so right to left, right to left, a little bit like this between the two colors I'm starting to tap like this.
Once we're done with that, I'm going to do a full length brush stroke, so from root to tip.
I'm not going out until the very edge of my seat.
So here on the right side I leave a clear pale pink layer, and I leave on the other side a clear strong pink layer.
I'm pulling, pulling, pulling, OK, so really the point is to get about a medium colour in the middle, middle third of the tweed.
If you have managed to make the transition without a stripe, or with a minimal stripe, we will now make it.
In Eben's case we are working in two meadows, as this is considered a simple ricochet, even though we used two levels, and I'll show you, ...to see what it's like to wash away your color transition with the other brush.
Here comes the second meadows of it.
And then, as I told you, now I think about how if you brush with a light brush, wash the level, a little erase the brush, I wipe the paper and boldly start to move left and right between the two colors, or where the two colors meet, like this, I lose the brush, Right to the bar, right to the bar, bravely, right to the bar, right to the bar.
So its hard to push the brush into the fabric.
Then I'll draw a full division from the more of the nail to the free edge.
Not to be pushed to the edge.
Ok, and to make sure we have a nice transition, I'm going to reverse the tip and drag the brush from the open edge to the base.
Good, and you can go in the lamp.
Then on this surface, once you're tied up, you can go straight onto the French end.
Now that we have the two options, or quite possibly three options, we can prepaint the French arch with a zero brush, We'll paint half of it in strong hessian, half in halmer hessian.
You can also paint the French end and then add the zero meshes.
We're actually clarifying the moso line.
However, I think the easiest and simplest way is to roughly paint the moso line, paint the French end of the line, and then we'll break out the mosoi line with a zserésacsetek, and then it's done.
I think it's the easiest and simplest solution to use a drone, but who knows what's available.
I'll be back for the next meeting.
I have developed this for you to make the pass itself.
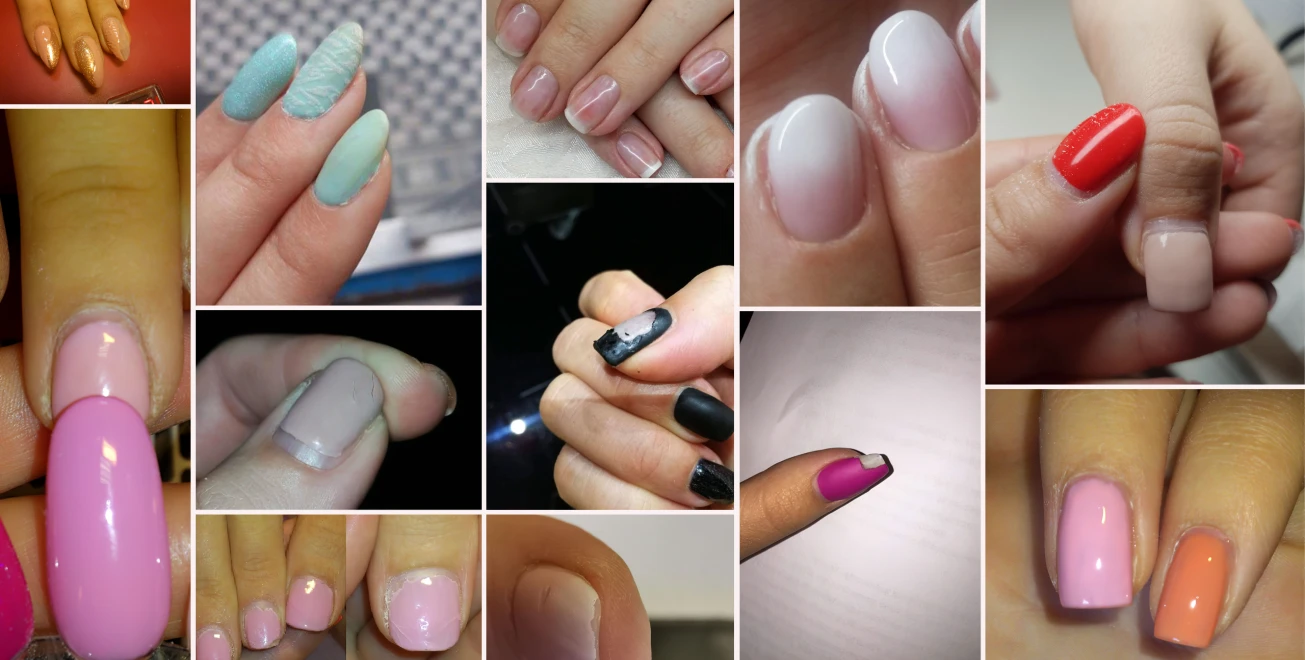
I've seen a lot of videos where they put powder on the tip of the tip and wash the powder on top of it, like gellakar, even fixation with metes and bounds.
I don't recommend this technique, if you observe it, it will remain a bit grainy like this, it's also temporary, so it won't be really perfect, even with the base, it wouldn't be a problem, but with the wash vanish, this graininess will show through and you won't get a nice sharp wash vanish on your nails, so I'm not going to recommend this.
Now, we're going to paint the colours on the opposite side, first we're going to paint the light side here on the dark side.
It's worth making a thicker French end, both to have room to blend the colour and to make it more spectacular.
I'm a bit I have a better handshake when it's thinner with a French end, so I have to strive a bit more for it, I have to be more careful to paint thicker this time of year.
I suggest you to pay attention to this, because then it will be really spectacular.
The colour saturation, you can see it well, so I've painted a French ivet like this roughly, and then I'll do some sharpening and erasing with a brush.
Now let's wash up the repainting, then I'll wipe off the excess material on one side of the liner, and then I'll wipe a bit of paper off the brush.
And with the age decided brush hold I'm going to blur the transition gently on this tiny band.
Here at the junction of the two levels, I'm not tinkering here, I'm simply dragging the brush along the moso line to the free target.
Gently.
Then I'll come a little to the right, go a little to the left.
Let's go a little to the right.
A little to the left.
Good, and we're ready.
Now, let's have a look at that wipe with the smile.
For those of you who don't already have a classic technique, I'll obviously recommend the zero mesh version.
I'll be using a four brush, I'm using the jewellery brush for the hammering, feel free to use a six brush, or I've often seen someone using a brush to draw a washing line.
The point is really to have a corner for the brush that you can push into your wash line.
This brush is a little softer, a little to look at the corners are shrinking, so you might want to use this one with the two fingers clasped together, I'm going to pull it out like this and make the shape of the brush a little clearer.
And then I'm going to eat my brush, perpendicular to the surface, in fact all the way around like this.
I'm going to push the end of my brush in to the left, that's how I'm going to do the erase here in the left corner of the tip in the smile.
I press it into the fabric and slowly slide my surface, I corner to corner I like to pull it under with a smile and then now I will check.
But I always wipe the brush again first, but it's very important that you see that I only put the brush between the paper towels, I'm gonna pinch it and delete it like this.
It's very important not to just wipe it off the paper, because instead of wiping it off, you'll pick up a lot of lint.
I always make a habit of turning the tip over and checking, this way I can see the shape better, whether it is symmetrical, the corners are in the same place, I'm wondering if I've managed to do everything I'd like to do.
Here on this site I'm going to tweak it a bit more.
I'm going to delete a little bit more of it, and by doing that I'm going to add a little bit of material to the corner, because I find that this corner is a little bit lacking in material.
And I'll delete a bit from this page.
Okay, that's fine.
Went into the lamp, which is a bit difficult to erase in the smile with this technique because it takes a bit of the eye in the ombra border, It's a bit like a distorted shape.
It's light on one side and dark on the other, kinda like it would be in the shade, like a little more level, it would be more inward, It's a little hard to see how you got that smile.
Well, if we're done with this, we're in the lucky position that we don't have to repeat it, so it's enough to make the transfer in one go, since we already have the ombre underneath we can go over it, ok it's the other way around, but it still gives a coverage, a stronger coverage, for the whole nail, the whole colour, so no need to apply a second coat in this case.
Of course, if for some reason you have just the right color that doesn't cover nicely in one coat, you will of course have to repeat with a second coat.
Now then, as we discussed, I like the madhatch better, so now I'm not using finesse gel, but the mojra is fixation-free, I'm going to cover the nail with a universal, flexible, mad top coat.
If you have used highly pigmented colours, it is very important not to use enough lightning to create volume, but to have a proper full scale the fabric, because you can imagine that it is on the opposite side, for example the dark cín, and the way you draw the gloss or the matte cín, You can use the dark title as an example to add pigment to the light one.
We'll cover it with mate.
And I think it will make our transition even more beautiful.
We'll put it in the lamp and then I'll show you the final result.
And then I'll show you the final result.
Hope you like the patterns.
Make them this way, too, feel free to take them, I'm sure they'll like it.
And send us the pictures too.
Thanks for your attention, see you at the next training.
Bye!
Show More